Acrobat Printable Version
|
CLUTCH-04, Clutch Master Cylinder Replacement
|
This procedure details replacement of the clutch master cylinder on 944s and 968s. Terry Jenner did a great job with this procedure. He wrote the procedure, took the pictures, and documented everything in such detail (including where the pictures should go in the procedure) that it made my job of rolling it into a web page extremely simple. I made a few minor editorial additions to account for the differences in clutch pedal assemblies. Thanks to Terry for excellent work on this procedure.
There are some differences in the early 944 pedal (1982-89) arrangement and the pedal for the later cars (1990-91 944, 1992-on 968). One notable difference is that they use a different clutch master cylinder (see parts list) and the way the master cylinder push rod assembly attaches to the clutch pedal is slightly different. Below is exploded views of the early and late pedal arrangements. In the procedure that follows I tried to document the exploded view part numbers where appropriate to make things a little easier to follow.


Tools
Parts
| Clutch Master Cylinder (12) | 477-721-171 (1982-1989 944 - All) | $65.00 USD (Vertex) $110.66 USD (Porsche) |
| Clutch Master Cylinder (30) | 944-423-149-00 (1990-91 944, 968 - All) | $60.00 USD (Vertex) $109.83 USD (Porsche) |
| Gasket (18, 33) | 928-423-191-00 | $3.17 USD (Porsche) |
| Bushing / Slide Bearing (15, 944 - 1982 to 1988) | 999.924.002.40 | $1.27 USD (Porsche) |
| Bushing / Slide Bearing (22, 944 - 1989-1991, 968 - All) | 999-924-039-00 | $5.38 USD (Porsche) |
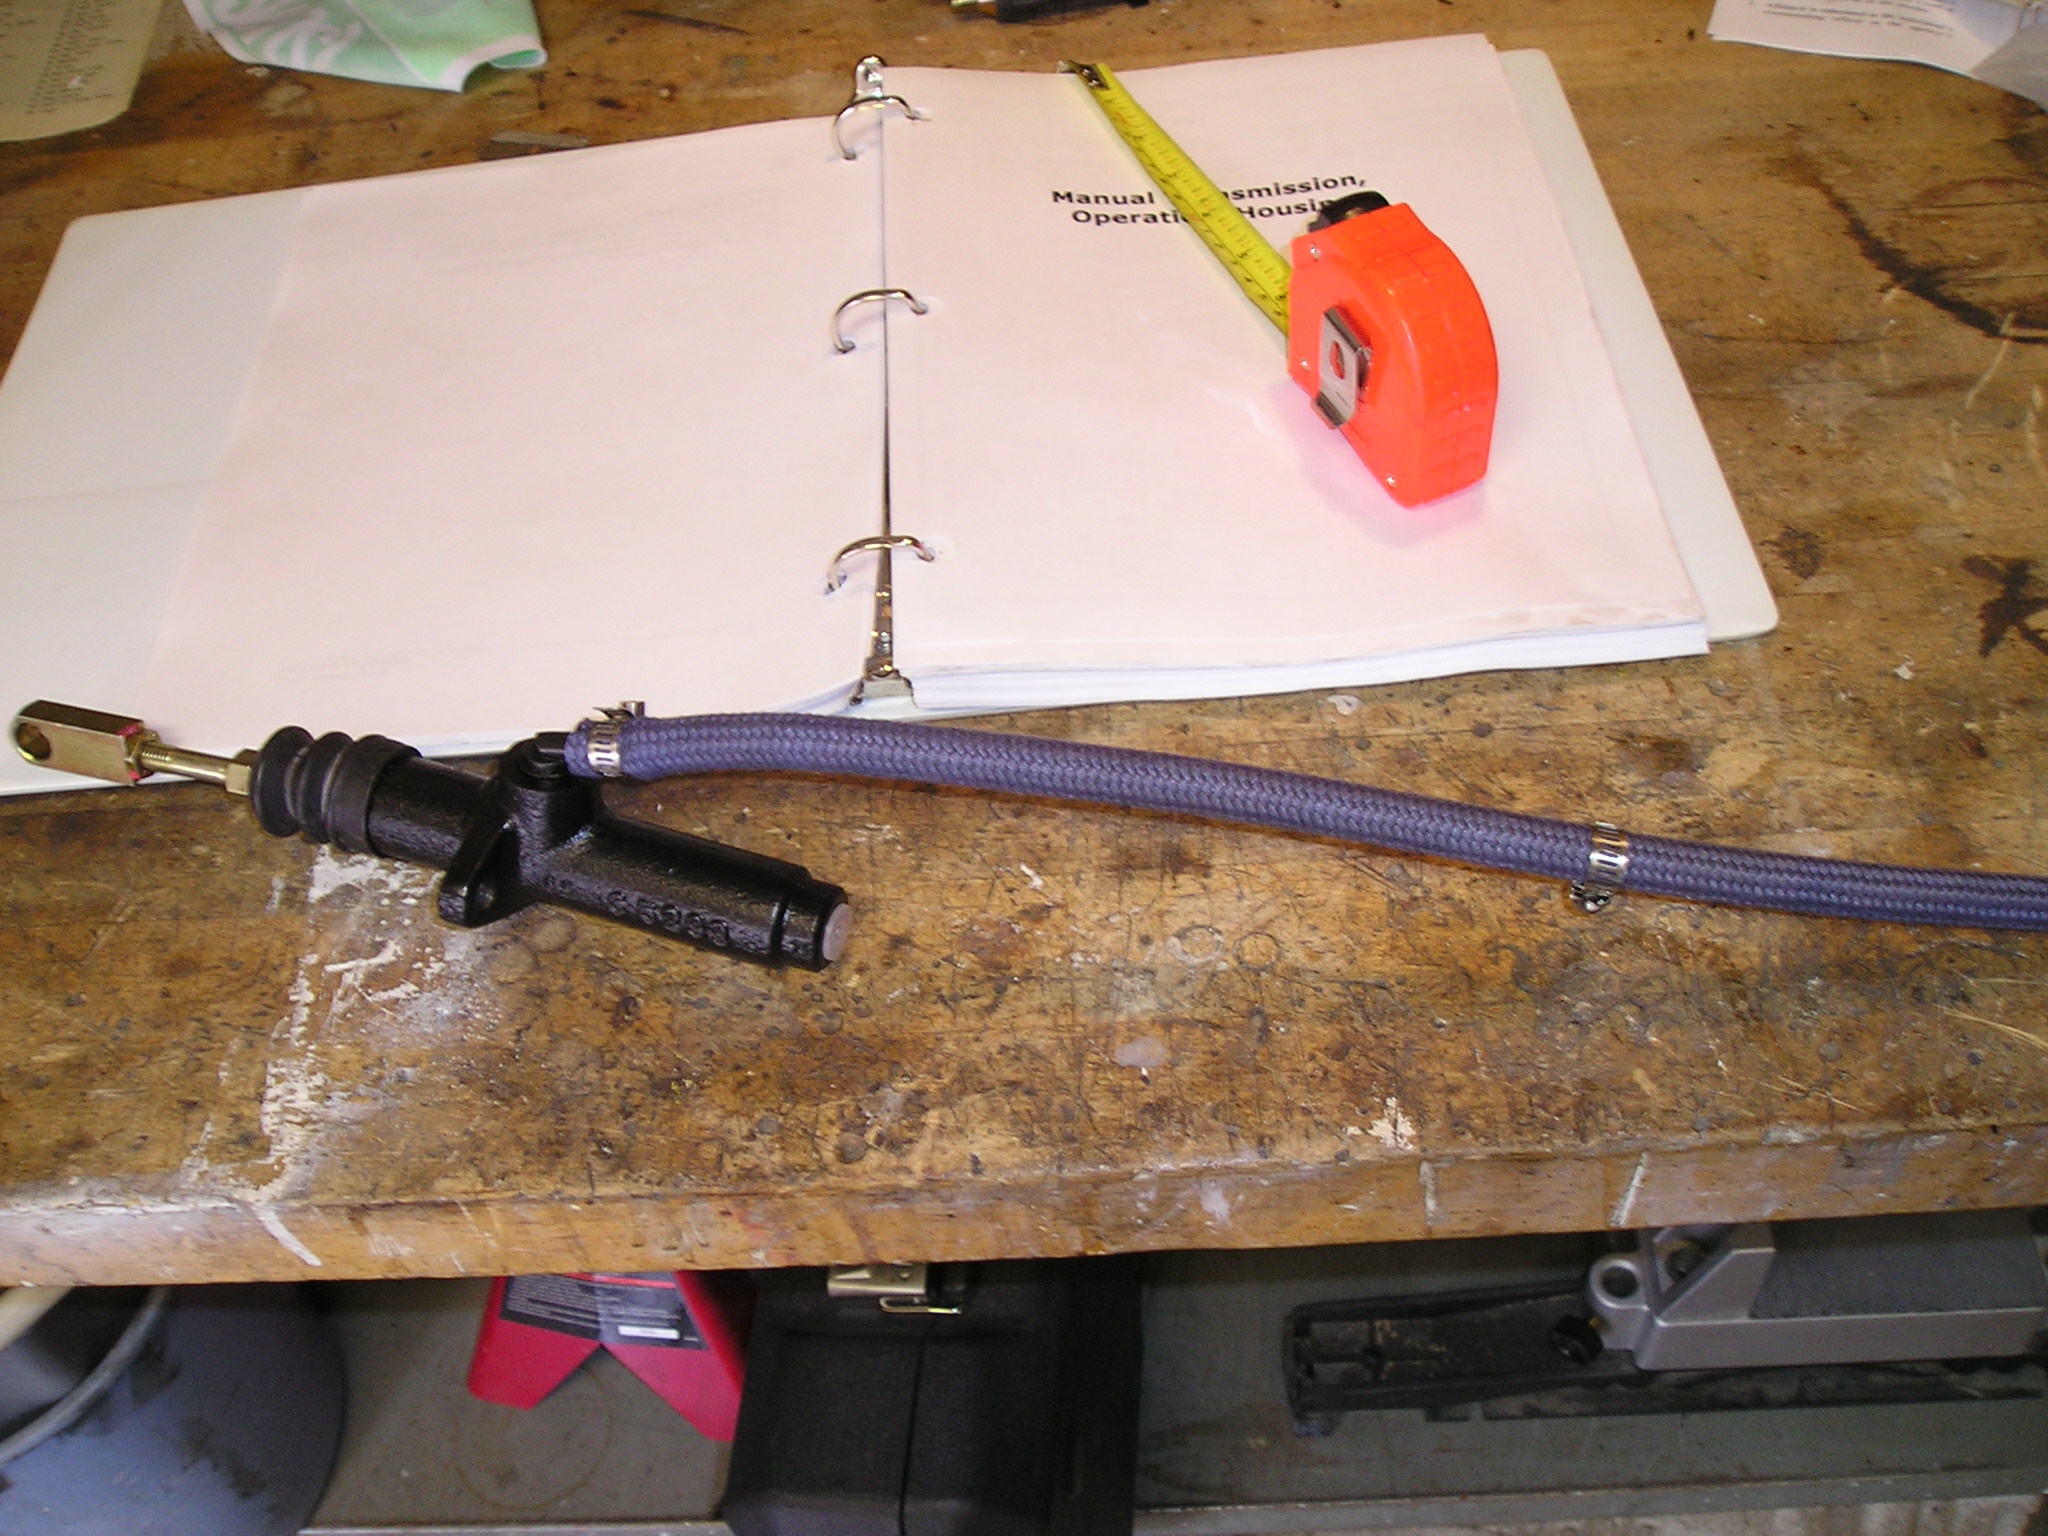
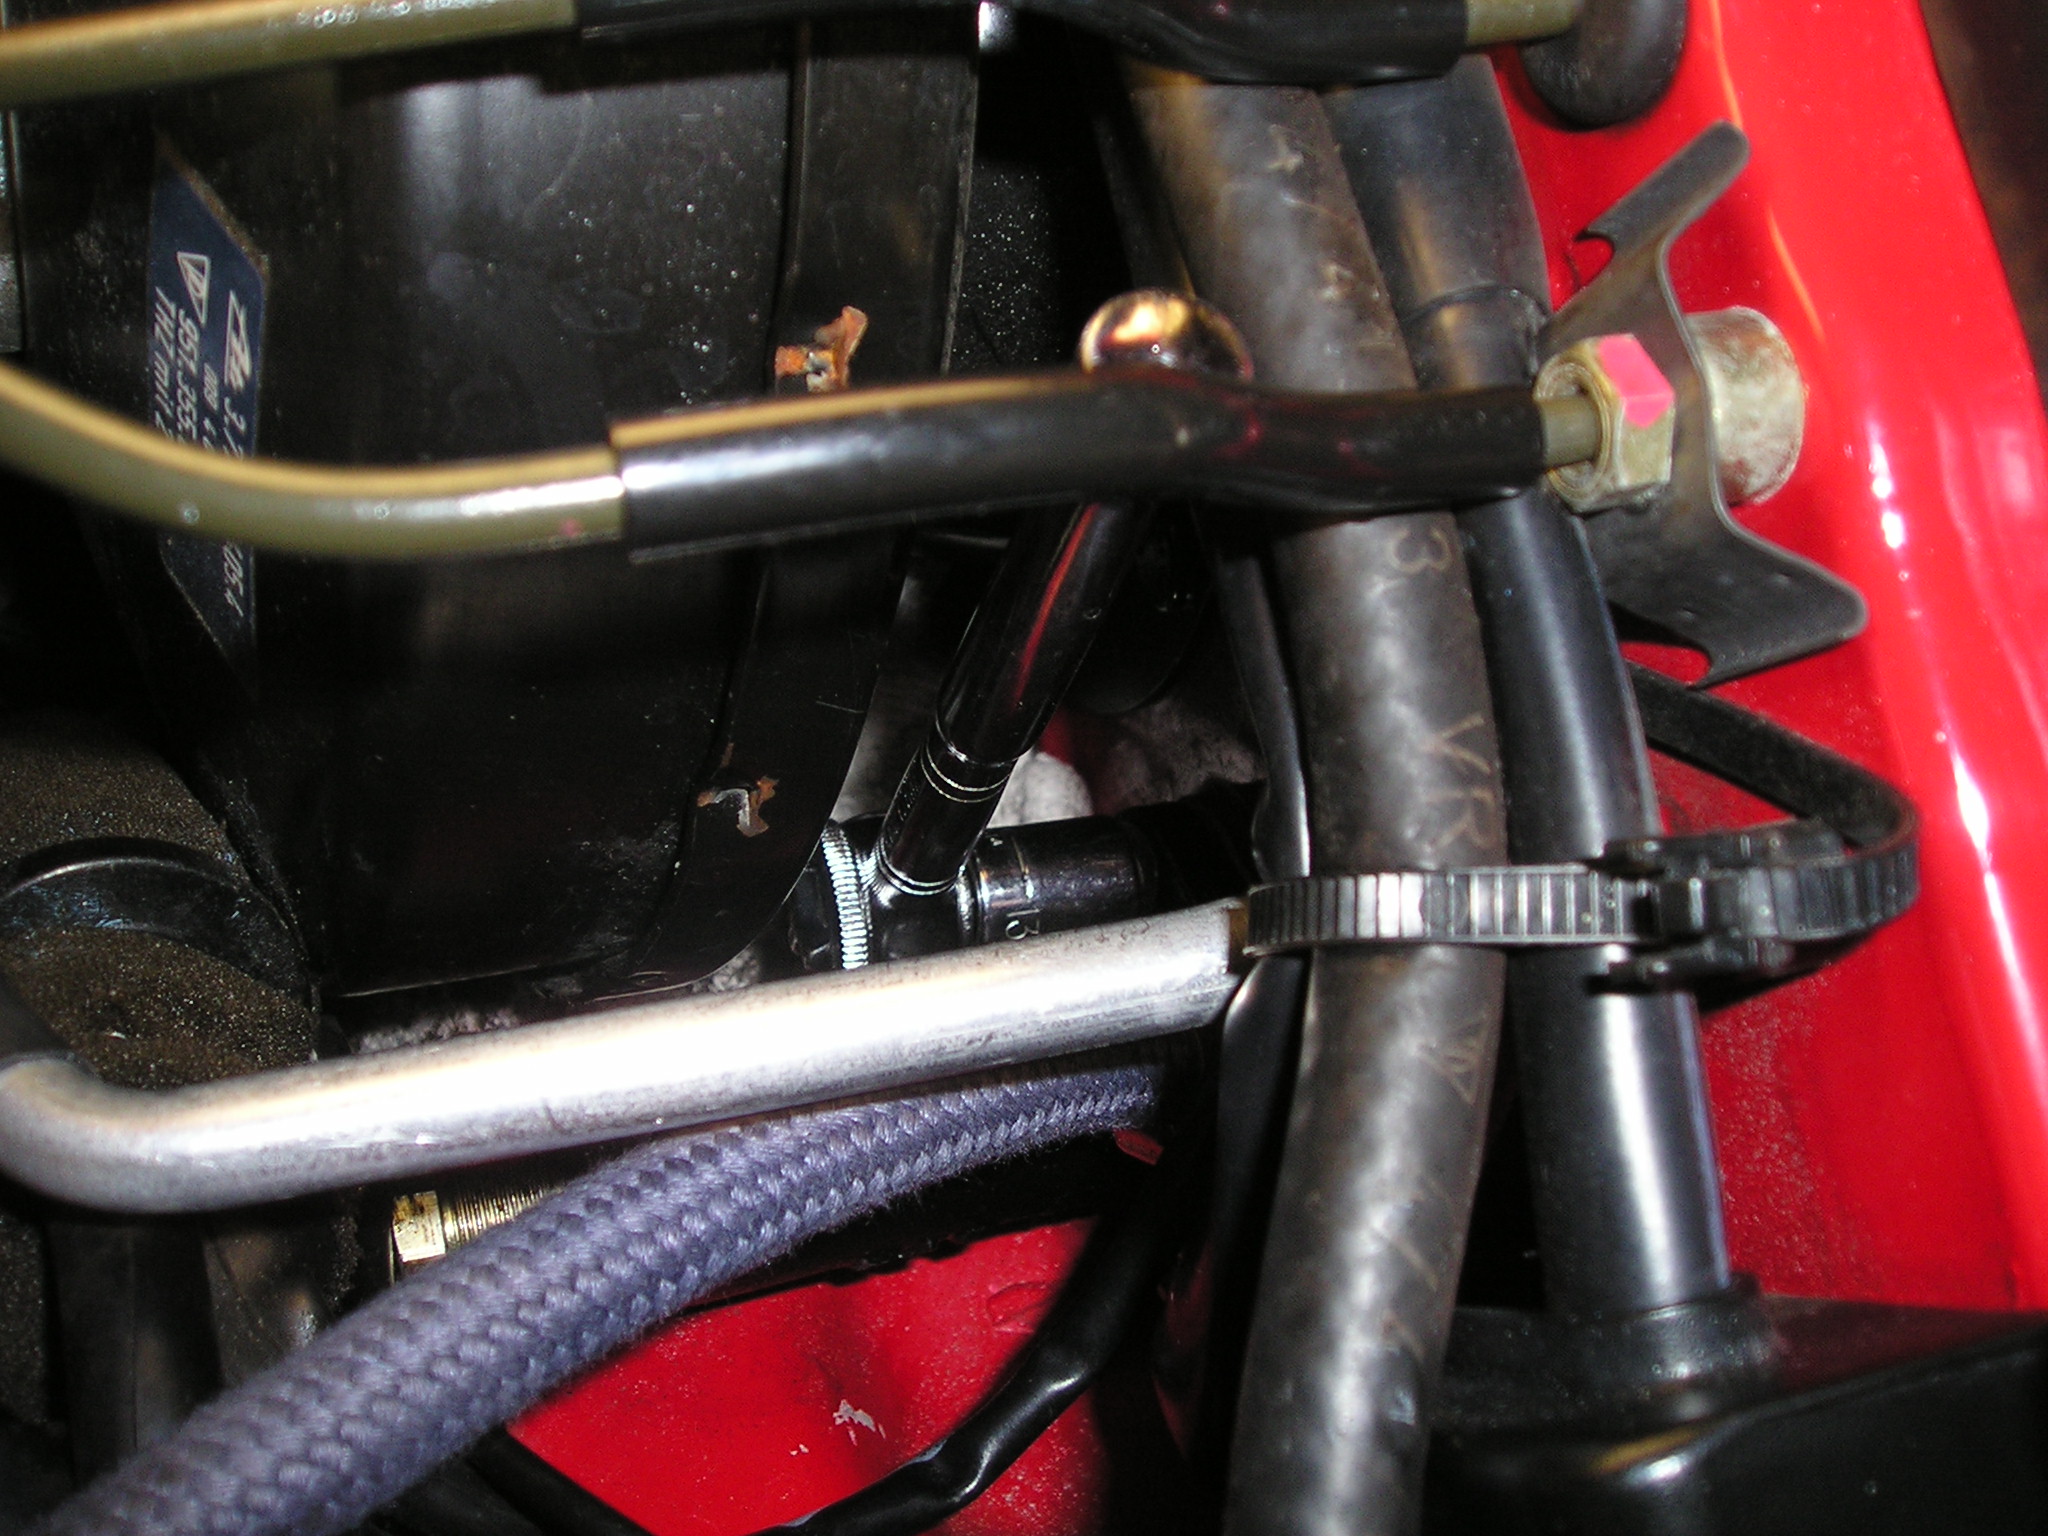
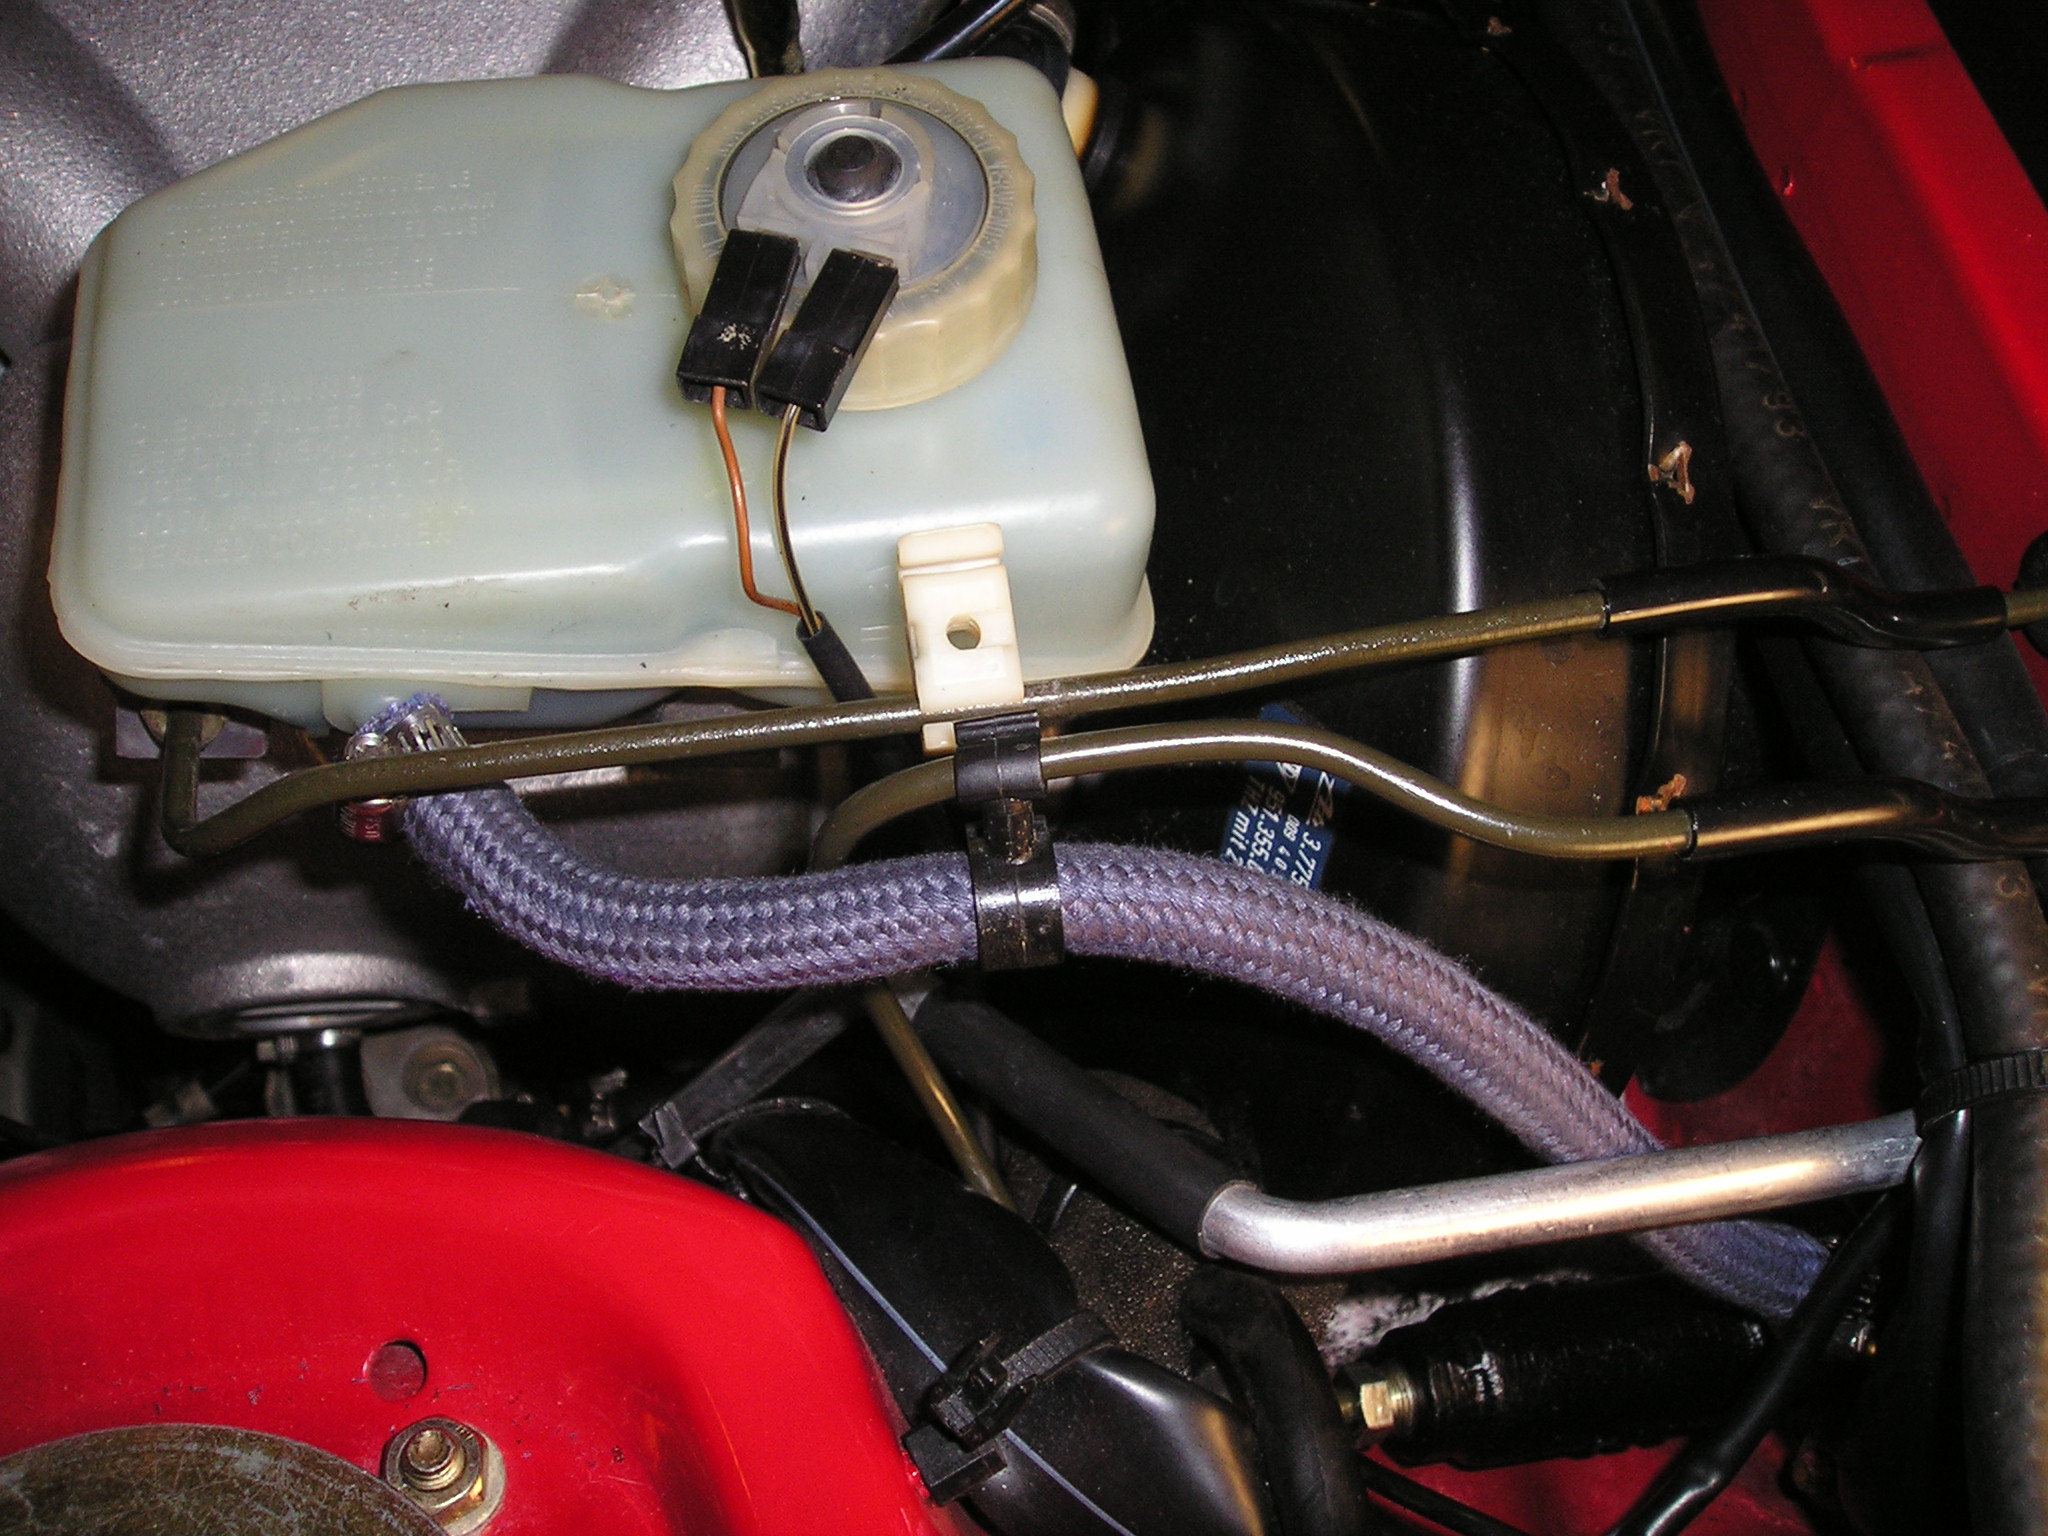
| Blue Brake Reservoir Hose (21, 36) | N/A | $2.00 USD/ foot from Paragon (need approximately 2 feet) $27.00 USD from Porsche |
| Stainless Hose Clamps | N/A | $3.00 USD |
| Brake Fluid (ATE Super Blue Recommended) |
N/A | ($10.00 USD / quart |
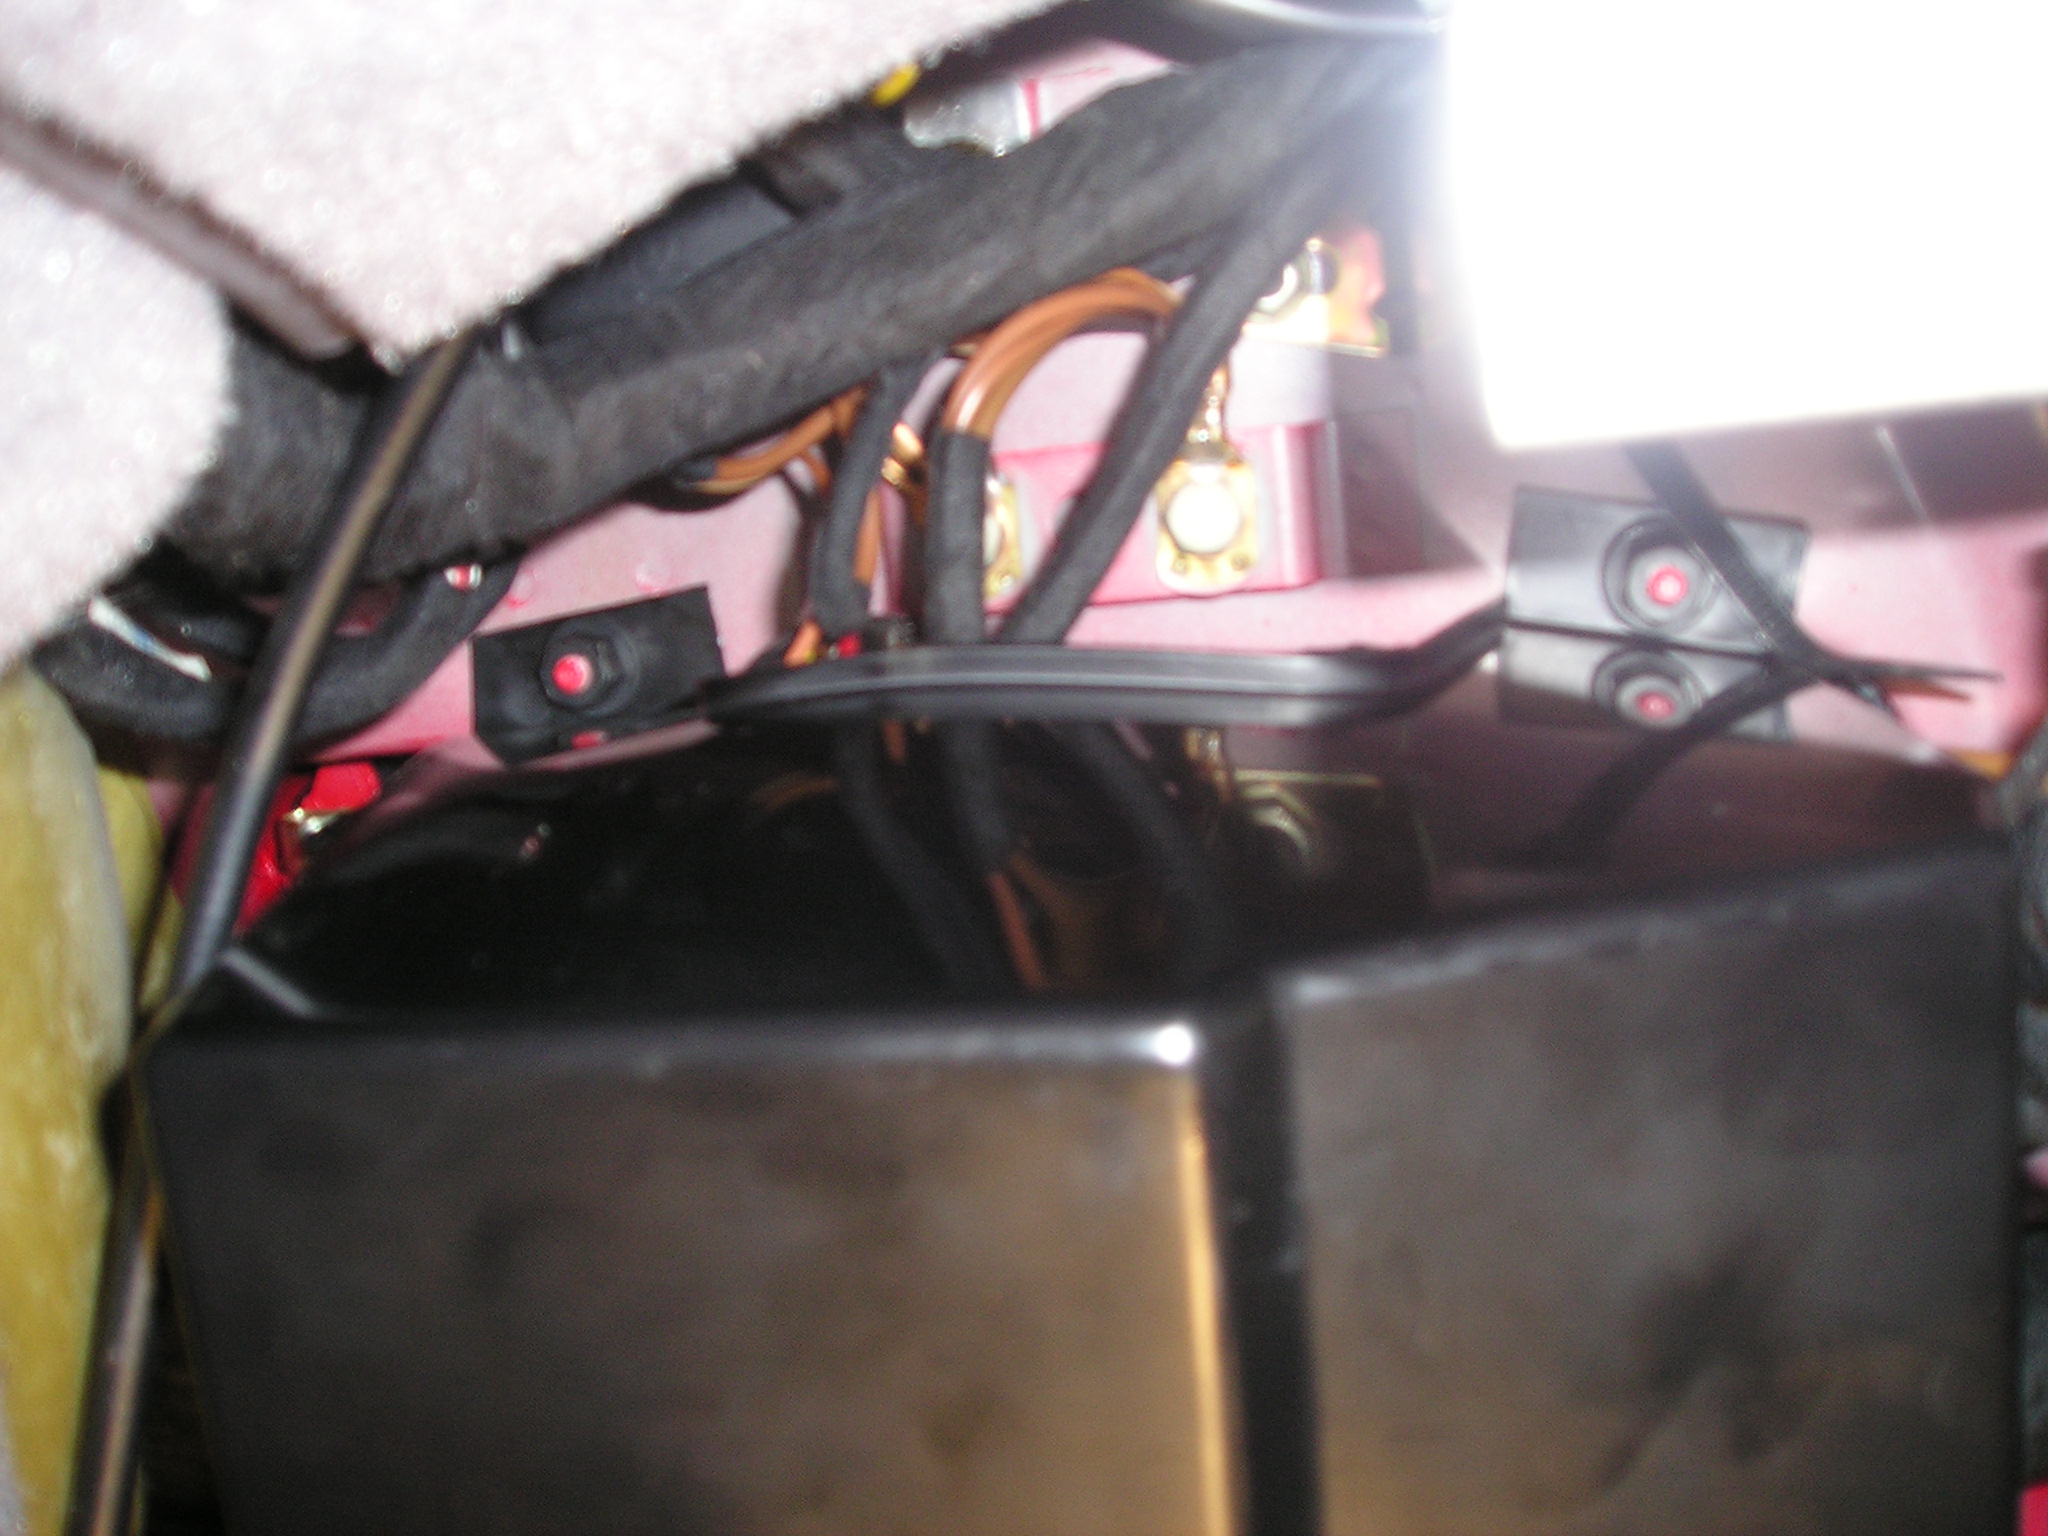
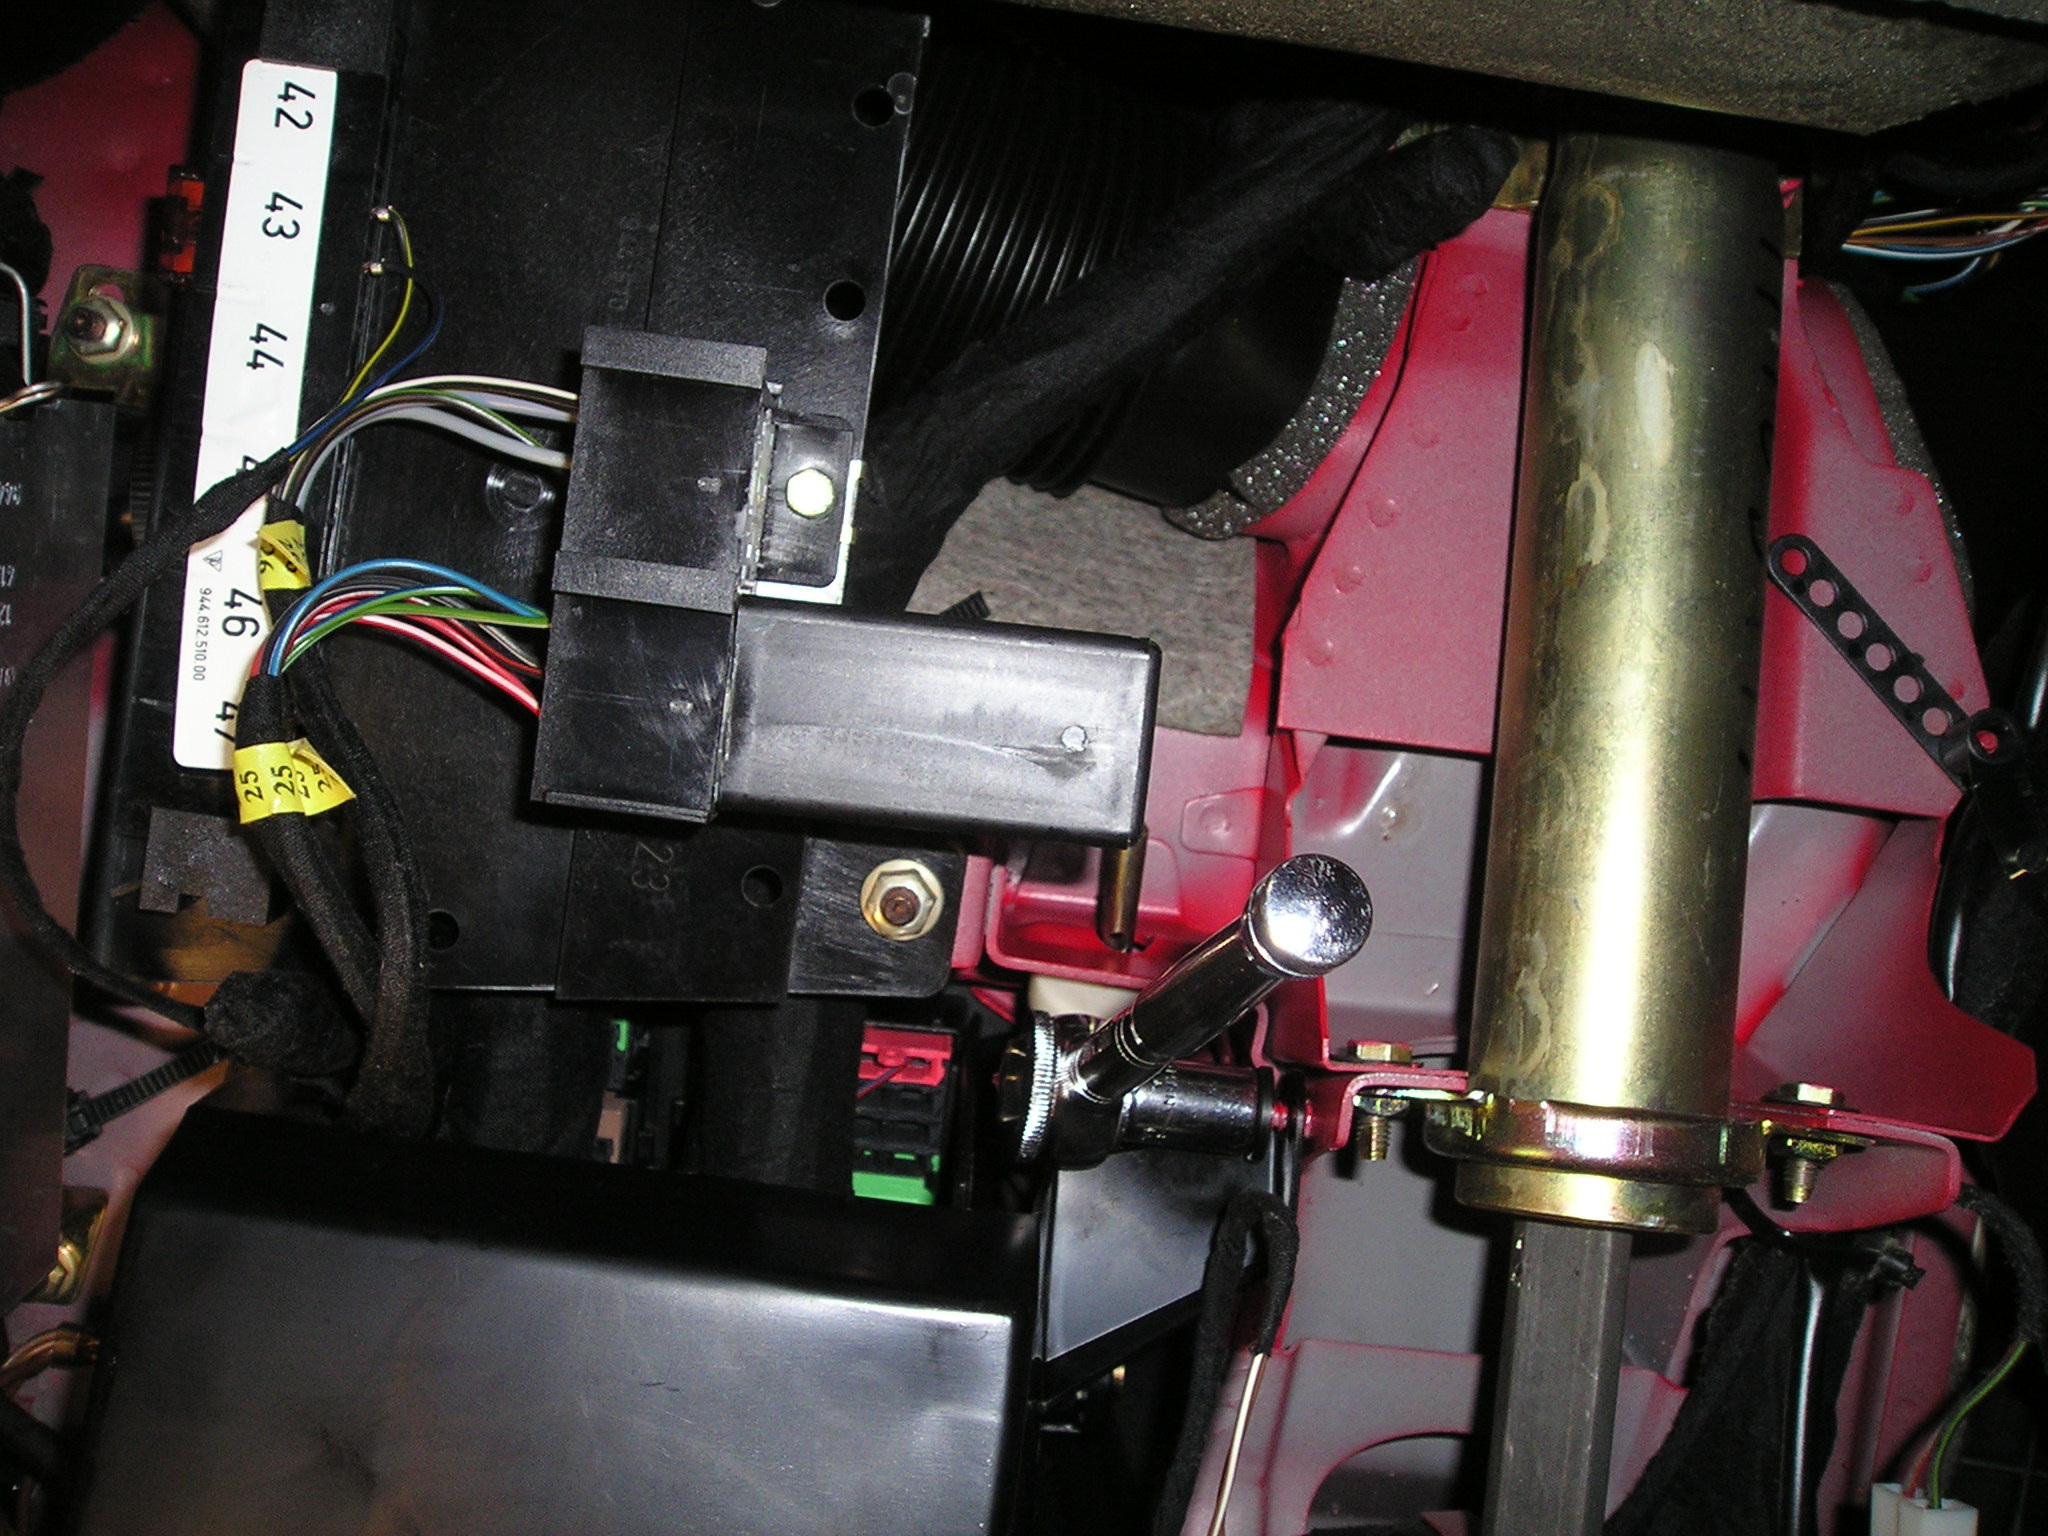
On late model 944s and 968s, the spring clip was put there to hold the rather beefy bolt (944-423-387-00) that is mounted transversely on the clutch pedal assembly through the clevis. On early 944 clutch pedals (1982-89), instead of a bolt which holds the clevis, there is a post which is physically part of the pedal assembly (see exploded views).

Installation
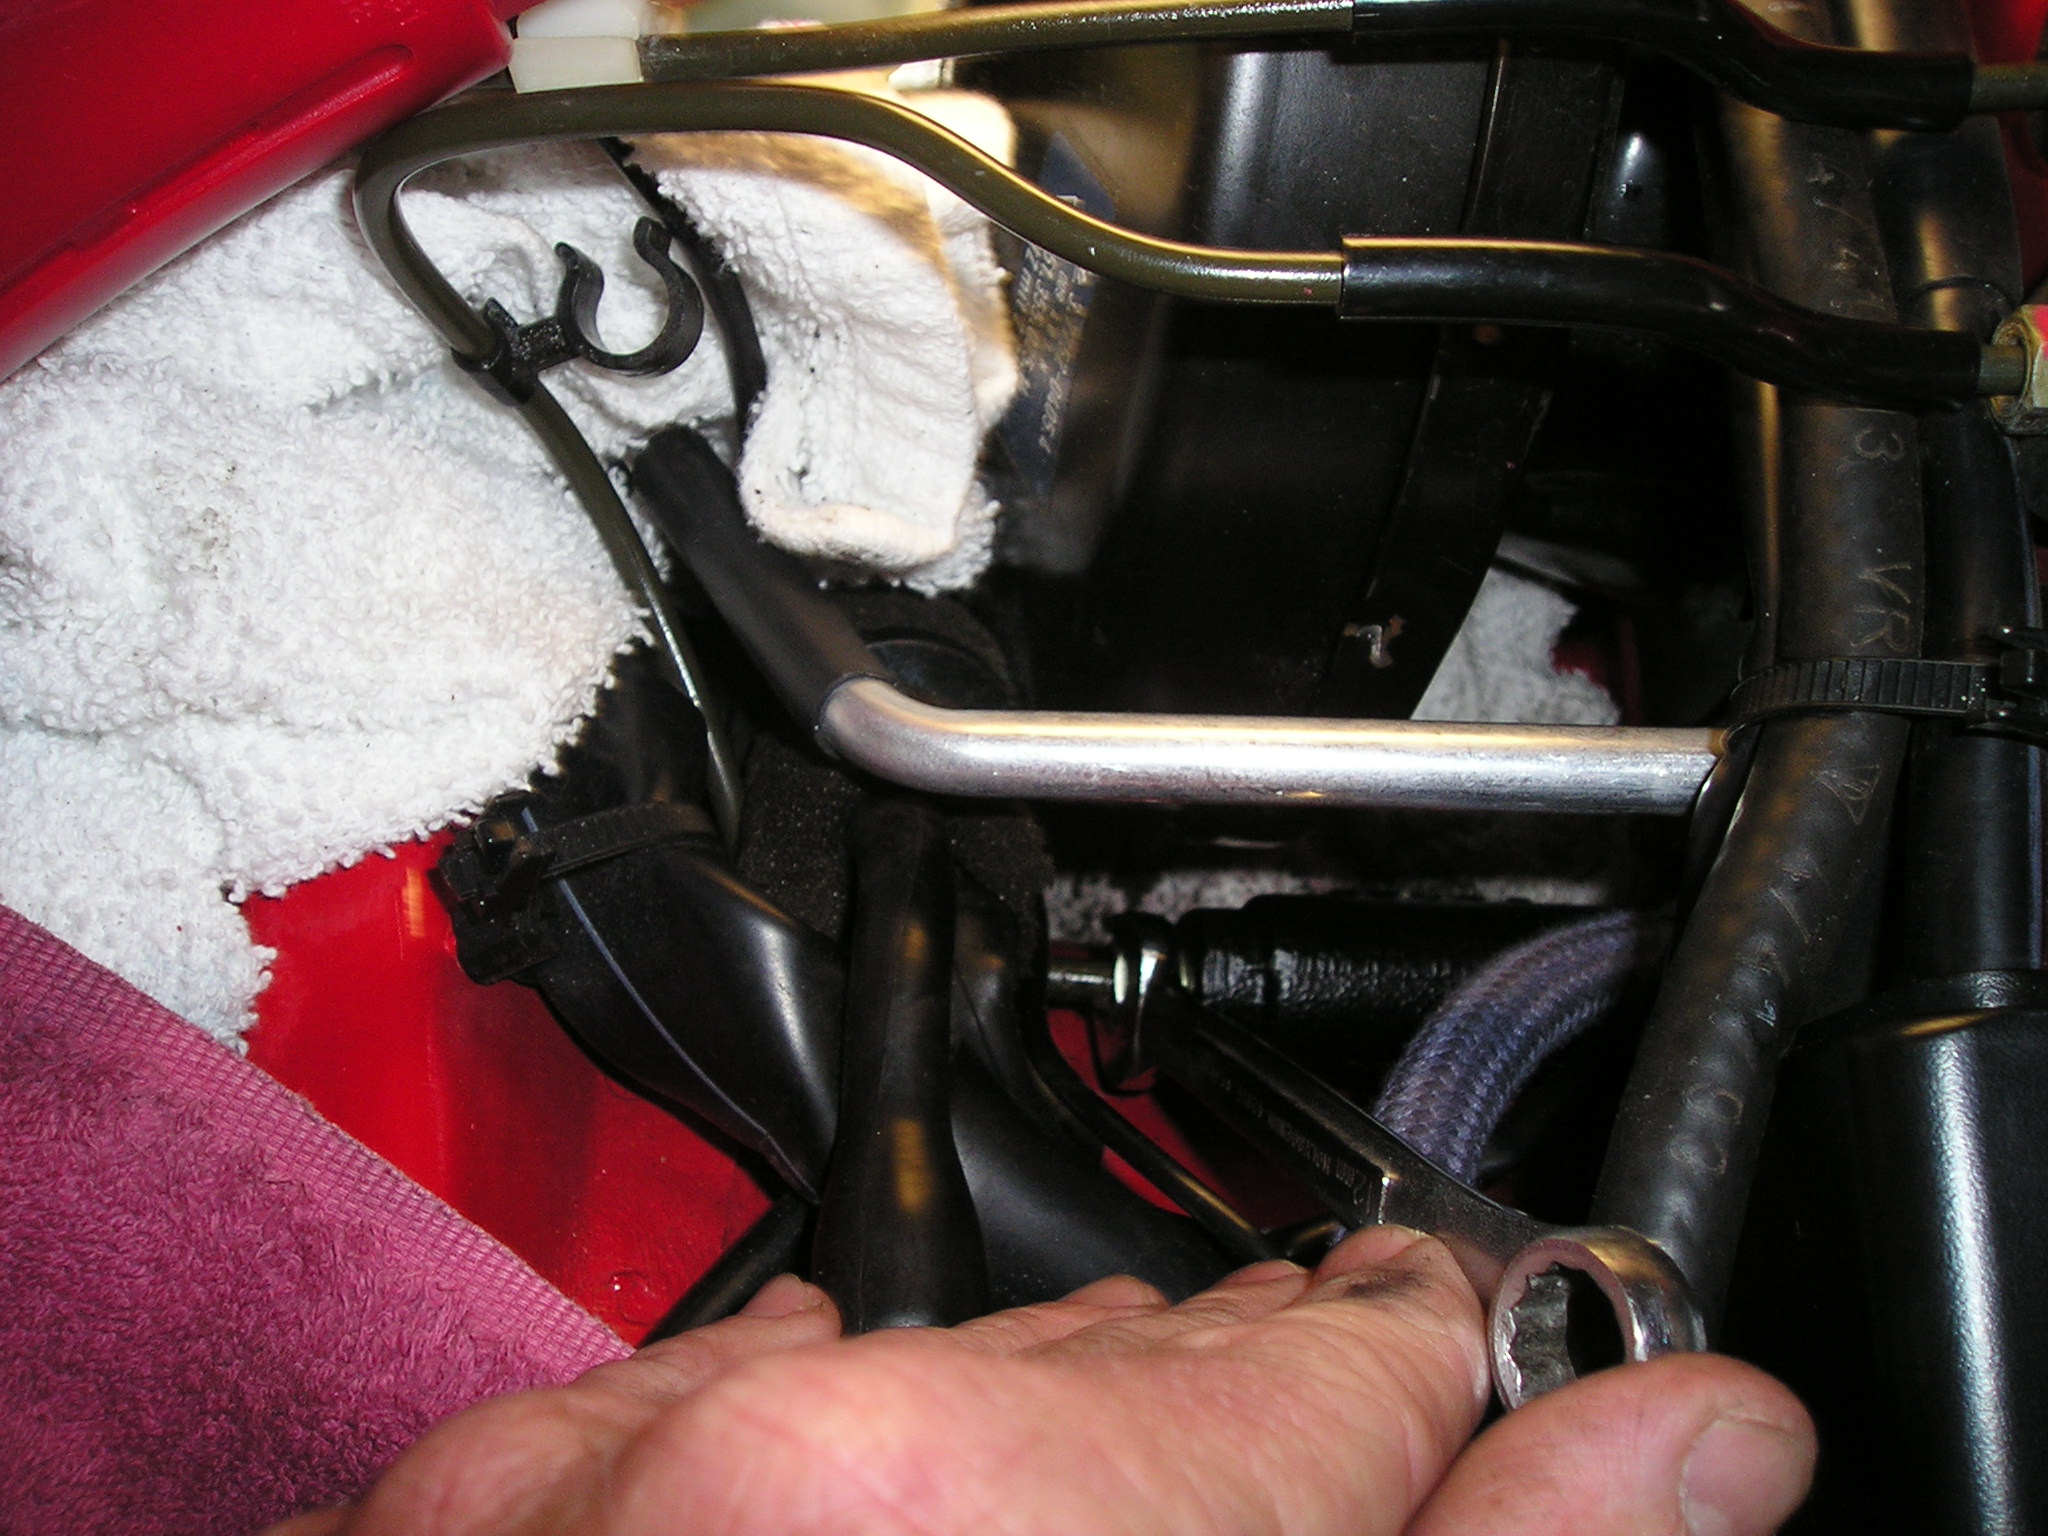
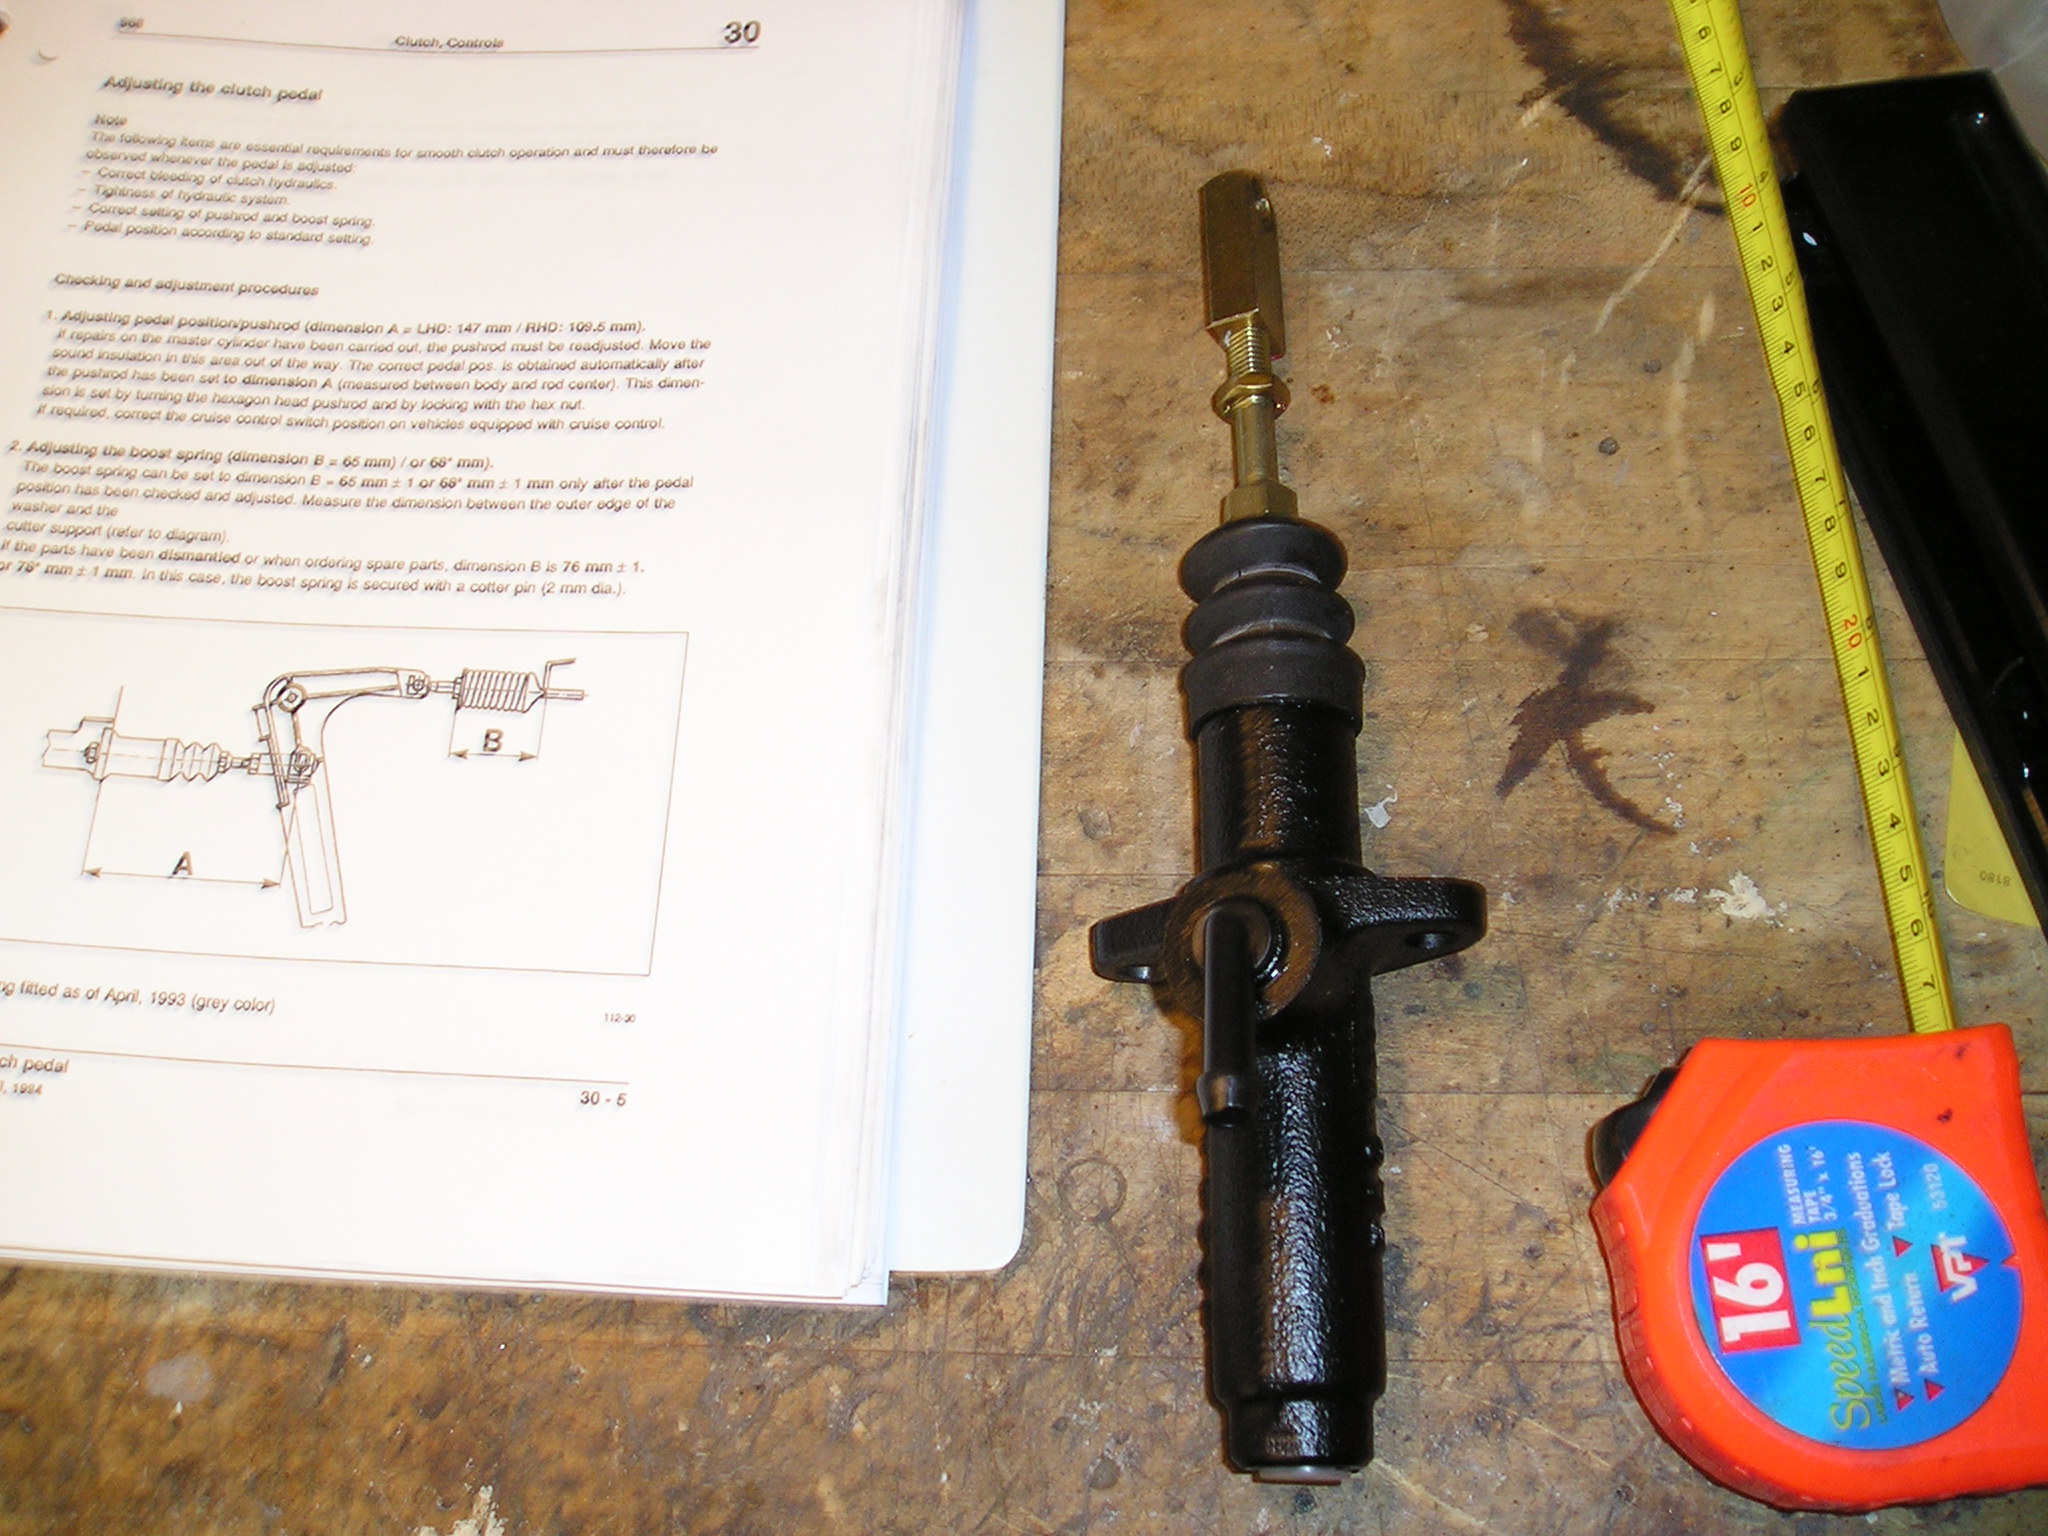
Distance A below is normally measured from the body of the car to the center of the mounting hole on the clevis after the master cylinder is installed in the car. However, it's much easier to install the clevis and set the length before the master cylinder is installed. Therefore, if you add 3 mm to the lengths listed below (to account for the thickness of the firewall) you can adjust the length of the push rod / clevis assembly prior to installing the master cylinder. Otherwise, it must be done after the master cylinder is installed.


Tighten the nuts with the concave washers behind them. I used a universal joint on the socket wrench, but I found a Ľ inch drive socket worked without the universal attachment. Your mileage may vary.
Clark's Garage © 1998