First, I'd like to apologize for sitting on this procedure for so long. I was searching through some of my files the other day and realized only then that I had it. Second, I'd like to apologize to the individual who provided the procedure and pictures. Again, I've had it so long that I don't remember who provided it. So, I can't give credit where credit is due. Bottom line is, I can't take credit for this but I'd like to thank the person who provided it.
Note from the Author
This article will walk you through the removal of your heater core. The
factory manuals will tell you to remove the dashboard to gain access to the
heater core. Actually, the absence of the dashboard is not necessary. It would
make the heater core easier to reach, sure, but it would make the job much
harder overall! I did this job on a 1992 968 so this procedure should apply to
any late (1985.5-1991) 944 or 968.
Tools
Stubby Phillips head screwdriver
Regular Phillips head screwdriver
Small flat tip screwdriver
Metric wrench (for the battery negative terminal)
Removal
Disconnect the battery negative terminal.
Drain the coolant system.
Remove the glove box.
Disconnect the rubber hose for the thermometer (if equipped) and also remove the plastic air duct.
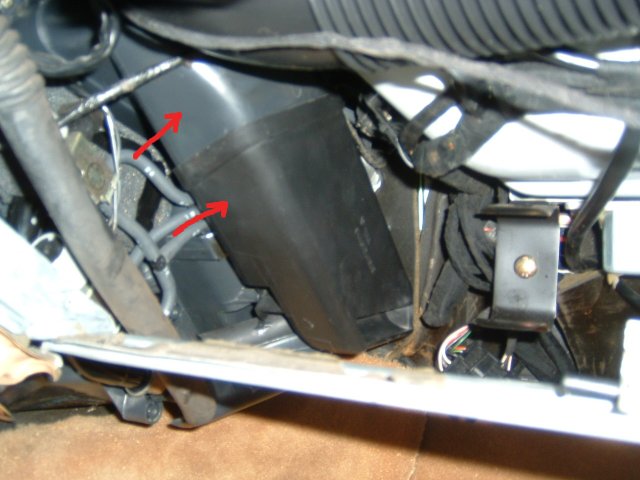
These two plastic duct pieces must now be removed.
The lower piece is secured with one screw. Undo it, and remove the piece.
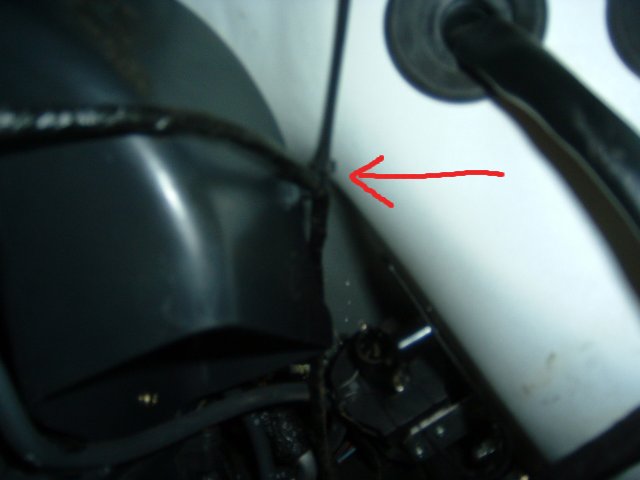
Cut this zip-tie holding a wire to the upper duct piece.
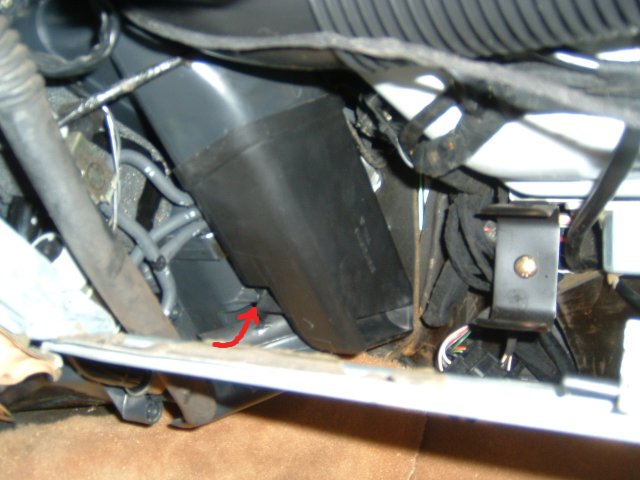
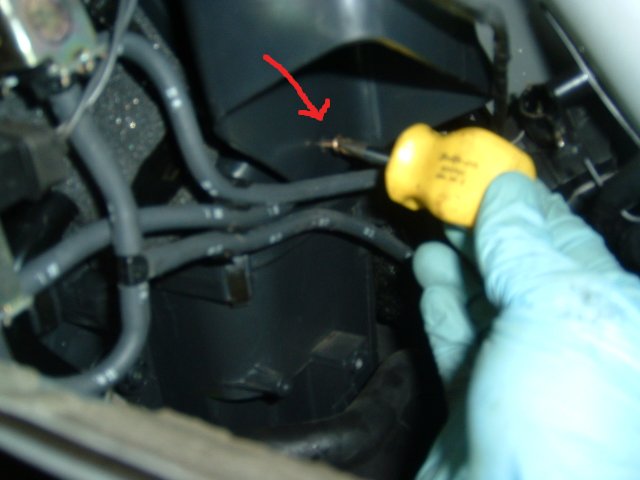
There are 3 screws holding the upper duct piece. Remove this screw pictured.
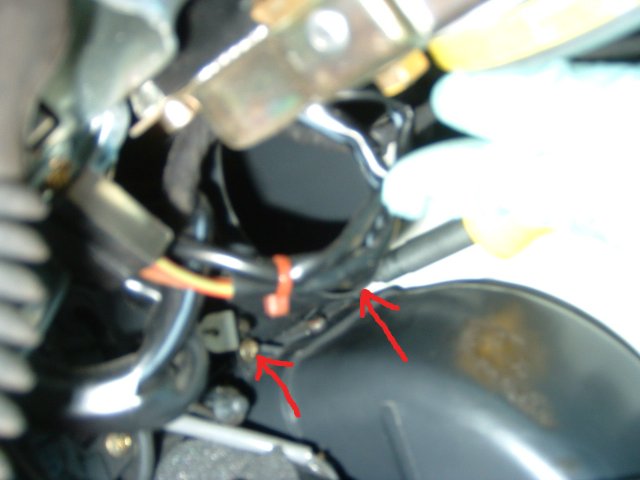
Now remove these 2 screws.
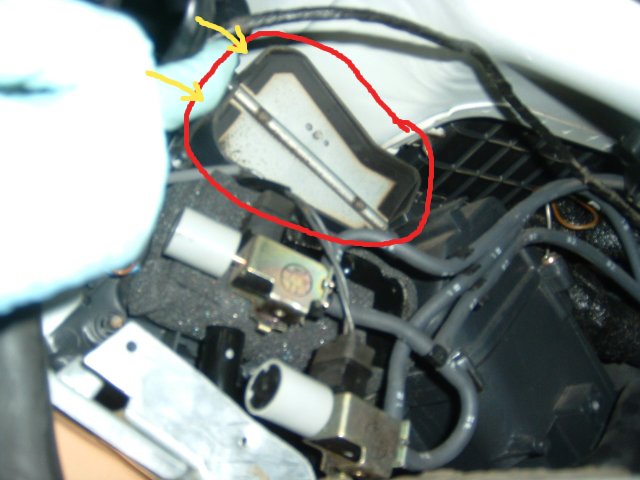
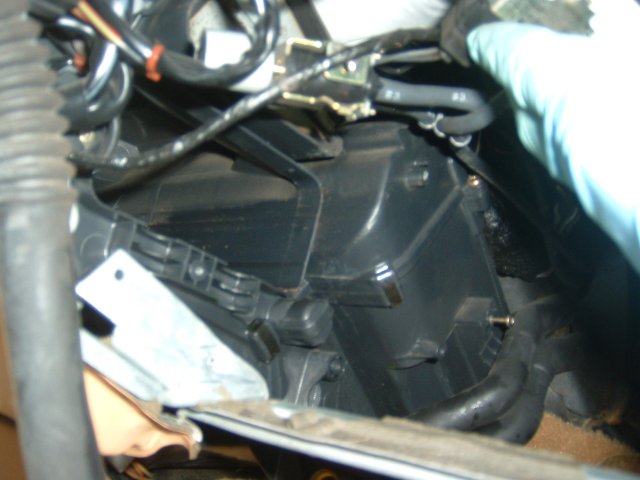
The yellow arrows show again the 2 upper screws for the upper duct piece. With all 3 screws out, pull and remove the piece.
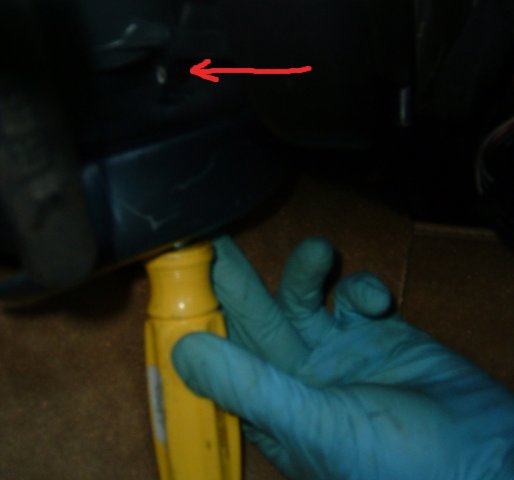
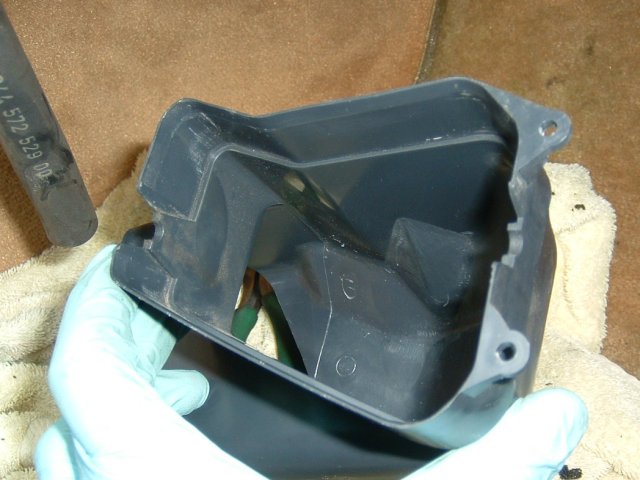
The piece in my hand. Note the shape, and note shape of where you just pulled it from, so you know how to reinstall it.
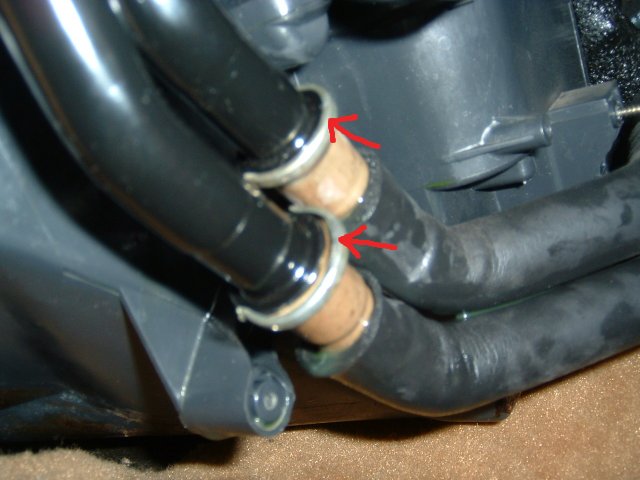
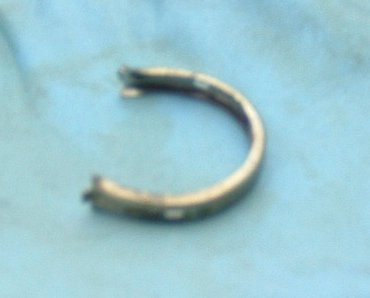
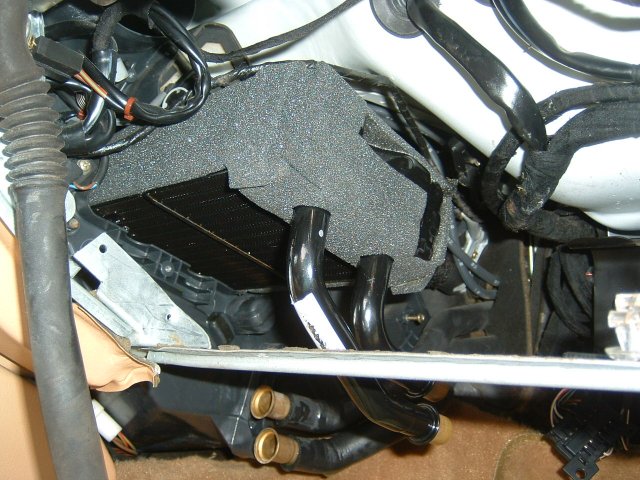
Place a container under the heater core pipe connections to catch spilling coolant. I used tuperware. Use a screwdriver to pry off these 2 clips on the heater core pipes. Don't lose these clips!
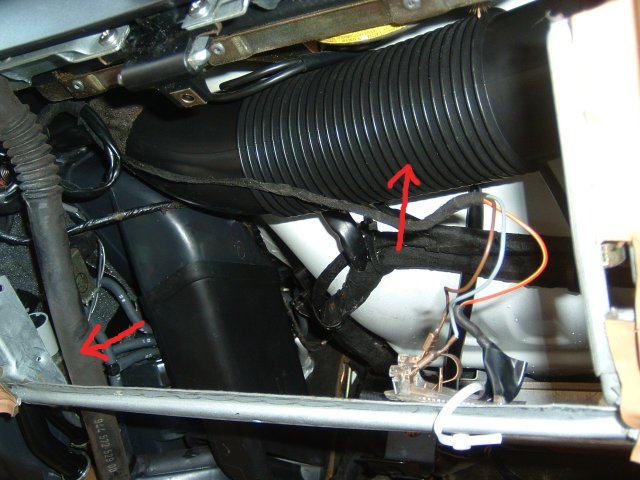
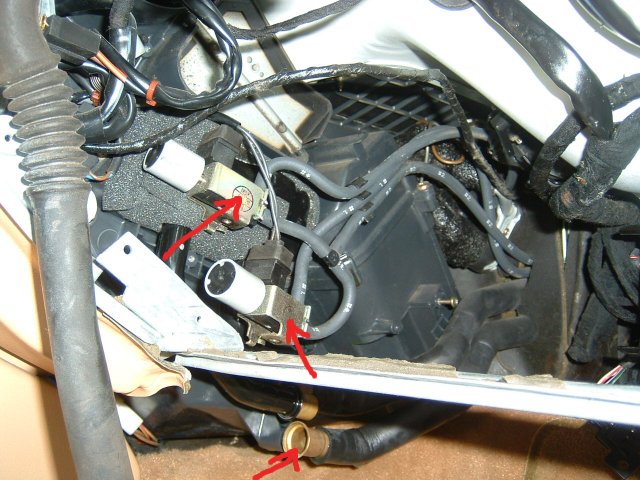
Pull/hold these vacuum elements out of the way, along with anything else obstructing the foam-padded heater core.
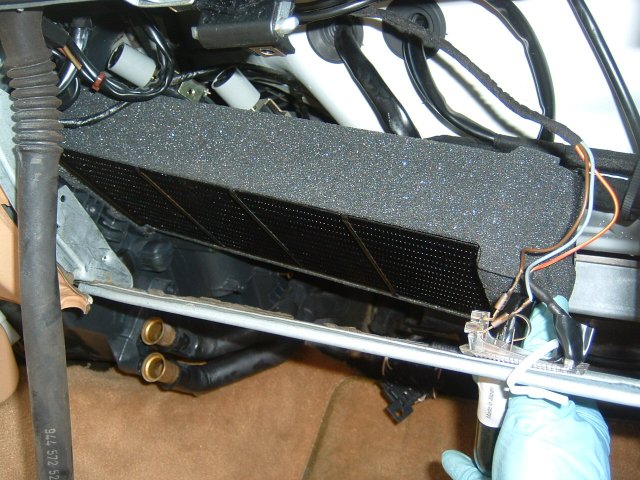
Start pulling out the core. Yea! The heater core is coming out, and you didn't even have to touch the dash!
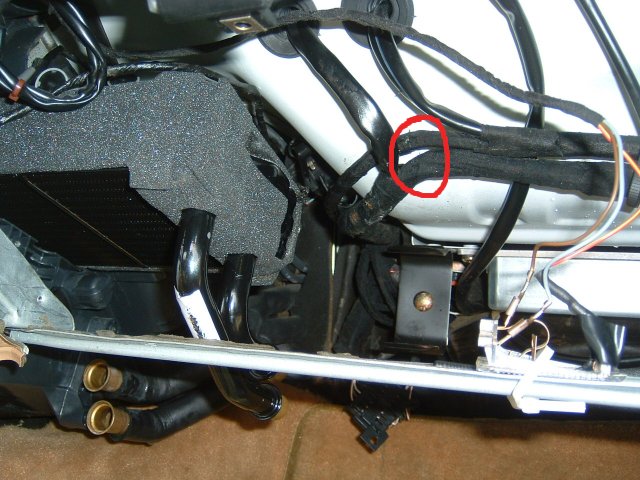
You will soon find the core won't simply slip out. It will run into the wire looms circled. It would
seem the wiring was run AFTER the core was installed, because there just
isn't enough clearance here. You need to undo the plastic strap here,
which I have already done in this picture, and remove it completely. Then
just push and pull on the wires while tugging out the core.
Eventually the core will squeeze by and finally make it all the way out of its housing.
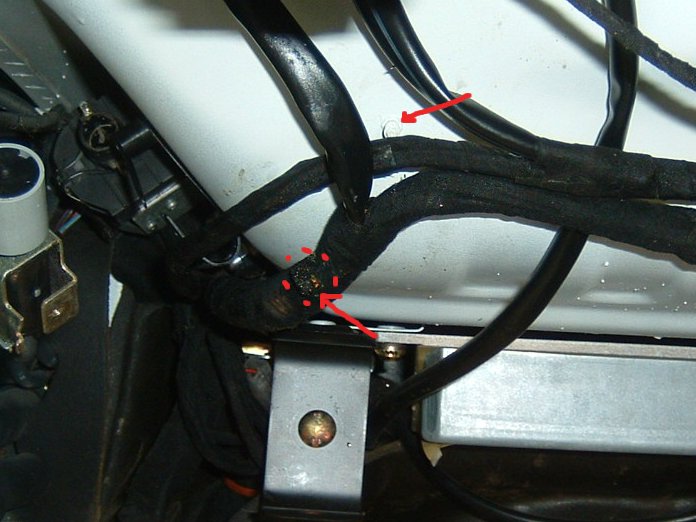
The dotted circle shows the
inevitable damage that will occur to your wire loom. As long as no
insulation was broken, it's fine. The arrow above that shows the painted
stud where that plastic strap was removed from.